8 Shelf Styling Formulas That Create an Effortlessly Curated Look
This site contains affiliate links. I may earn a commission at no extra cost to you.
Shelf styling formulas are the secret blueprint behind every perfectly curated bookcase, turning empty shelves or visual clutter into balanced, magazine-worthy displays.
While interior stylists make decorating look effortless, they are actually working with geometry and repeatable templates, not magic. Styling your shelves isn’t about buying expensive decor; it’s about arranging what you already own using simple visual rules.
Why Use Shelf Styling Formulas?
- Eliminates Guesswork: Stops the endless shifting of items by giving every piece a clear, structural purpose.
- Balances Visual Weight: Uses height, depth, and horizontal lines to create dynamic symmetry.
- Saves Money: Works with everyday items you already have, like books, pottery, photos, and travel mementos.
- Guarantees Success: Delivers a cohesive, professional vignette every single time, no matter your decor style.
Essential Decor Elements to Gather:
- Anchors (The Foundation): Large art frames, wide bowls, heavy vases, or sturdy baskets.
- Stackers (The Elevation): Hardcover books, flat trays, or low decorative boxes to create varied height levels.
- Fillers (The Personality): Small sculptures, candles, greenery, or bookends to fill negative space and add texture.
The Theory Behind the Formulas: Why Math Matters in Design
Before diving into layout templates, it helps to understand the underlying “physics” of decor. Why do some displays look cluttered while others feel light and curated? It all comes down to visual weight.
What Is Visual Weight?
Visual weight is the amount of attention an object demands from your eye. Master shelf styling formulas rely heavily on managing this balance.
- Visually Heavy Elements: Dark colors, dense materials (stone, cast iron), and solid textures pull the focal point down.
- Visually Light Elements: Negative space, pastel shades, clear glass, and organic shapes (wispy branches) allow the eye to rest.
Key Design Rules to Master
- The Rule of Three: The human brain naturally prefers odd-numbered groupings. A vignette with three items (a book stack, a candle, and a decorative bowl) feels far more dynamic than pairs or even sets.
- The 80/20 Balance: Aim for roughly 80% resting objects (horizontal book stacks, low bowls) and 20% active objects (vertical accents, tall vases) to maintain a modern, relaxed rhythm.
- Negative Space: Leave small, unstyled gaps to keep your display from feeling crowded.
The 8 Shelf Styling Formulas
Here is your practical guide to effortless arrangement. For each template below, picture looking at a flat cross-section of a single shelf or a full bookcase bay.
Formula #1: The L-Shape Anchor (Best for Single Shelves)
- The Common Flaw: A single shelf where everything sits in a straight, uniform row like a lineup of soldiers.
- The Solution: Create an asymmetric “L” outline to establish a natural focal point and clean visual movement.
How to Build It:
- Step 1: Stack 3–5 heavy books horizontally on either the far left or far right side of the shelf.
- Step 2: Place a tall vertical piece, such as a tall vase, a framed art print leaning on the back wall, or a tall taper candle, directly beside or slightly behind the book stack.
- Step 3: Counterbalance the opposite side with a single low, wide object (like a catch-all bowl, stone tray, or short planter).
Layout Structure:
- Left/Right Anchor: [ Tall Vertical Piece + Horizontal Book Stack ]
- Center: [ Open Negative Space ]
- Opposite Edge: [ Low Heavy Accent ]
- Ideal Application: Single floating shelves, bathroom ledges, or kitchen open shelving where you want an airy, uncomplicated look.
Formula #2: The Z-Pattern Zig-Zag (Best for Long Walls & Built-Ins)
- The Common Flaw: Flat horizontal styling across multi-tier shelving causes the eye to skim right past without engaging.
- The Solution: Force dynamic movement down the unit by positioning high-impact focal points in a sharp “Z” pathway.
How to Build It:
- Top Shelf: Position your heaviest visual anchor, such as a dark stoneware crock or a large book stack, on the far left.
- Middle Shelf: Shift your primary anchor to the far right, leaving the left side open or styled with lighter pieces.
- Bottom Shelf: Return your final anchor to the far left (or center bottom) to complete the zig-zag loop.
Layout Structure:
- Top Level: [ Heavy Anchor ] ——– [ Light Accents ]
- Middle Level: [ Light Accents ] ——– [ Heavy Anchor ]
- Bottom Level: [ Heavy Anchor ] ——– [ Light Accents ]
- Styling Pro-Tip: Use high-contrast materials for your anchor points, like matte black pottery or rich leather volumes against light walls, so the eyes naturally jump from point to point.
Formula #3: The Mirror Box (Best for Dramatic Symmetry)
- The Common Flaw: Displays feel messy or ungrounded when you want a formal, high-end, or architectural aesthetic.
- The Solution: Use precise outer symmetry grounded by a soft center element to create a sense of order, structure, and understated luxury.
How to Build It:
- Step 1: Position two identical (or closely matched) objects at opposite ends of the shelf, such as twin tall vases, matching bookends, or identical sculptural busts.
- Step 2: Place a flat, neat horizontal stack of hardcovers directly in the center of the shelf between the outer anchors.
- Step 3: Top the central book stack with a single organic or rounded item (like a small potted succulent or a stone paperweight) to subtly disrupt the rigid symmetry.
Layout Structure:
- Left Edge: [ Anchor A (e.g., Tall Ceramic Vase) ]
- Center: [ Horizontal Book Stack + Soft Organic Object ]
- Right Edge: [ Anchor A (Identical Ceramic Vase) ]
- Styling Pro-Tip: Perfect symmetry can feel cold or commercial. Adding that one organic, imperfect accent in the center introduces warm human character while keeping the luxurious structure intact.
Formula #4: The Pyramid (Best for Beginners & Graduated Scale)
- The Common Flaw: Display items sit at uniform, monotone heights, creating a flat and uninspired visual horizon across the shelf.
- The Solution: Build a smooth staircase pattern that guides the eye naturally through varying height tiers.
How to Build It:
- Step 1 (Short): Place your lowest accent, such as a small catch-all dish or a thin horizontal book, on one far side.
- Step 2 (Medium): Position a mid-sized accent, like a scented candle, medium frame, or small clock, in the middle section.
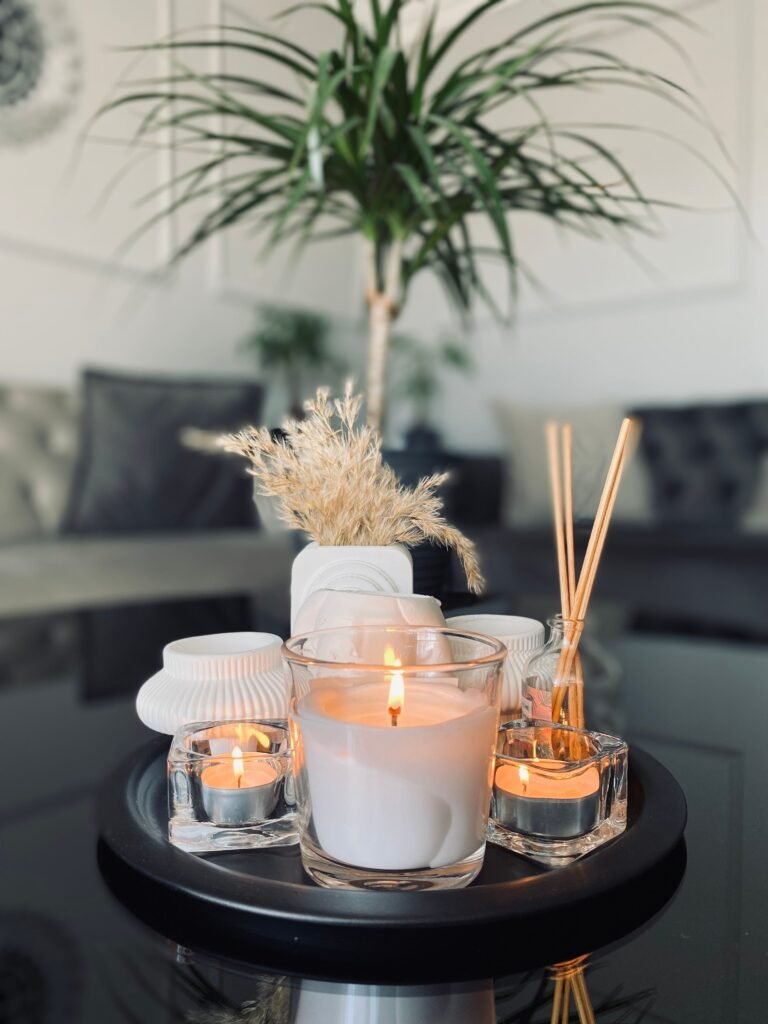
- Step 3 (Tall): Anchor the opposite side with your tallest piece, such as a tall vase with dried branches or vertical hardcovers with bookends.
Layout Structure:
- Option A (Left-to-Right Rise): [ Short Object ] —–> [ Medium Object ] —–> [ Tall Anchor ]
- Option B (Center Peak Pyramid): [ Short Object ] —–> [ Tall Center Anchor ] <—– [ Short Object ]
- Styling Pro-Tip: Think of this layout as a flight of stairs for the eye. Graduating heights create rhythm, balance, and intentional structure without feeling overly rigid or forced.
Formula #5: The Layered “Peek-a-Boo” (Best for Adding Depth)
- The Common Flaw: Everything sits in a single flat plane against the back wall, making the arrangement look like a 2D cutout.
- The Solution: Stagger items in overlapping front-to-back layers to create dimension, shadow, and a curated feel.
How to Build It:
- Step 1 (Back Layer): Lean a large framed art print, mirror, or wide decorative tray flat against the back wall of the shelf.
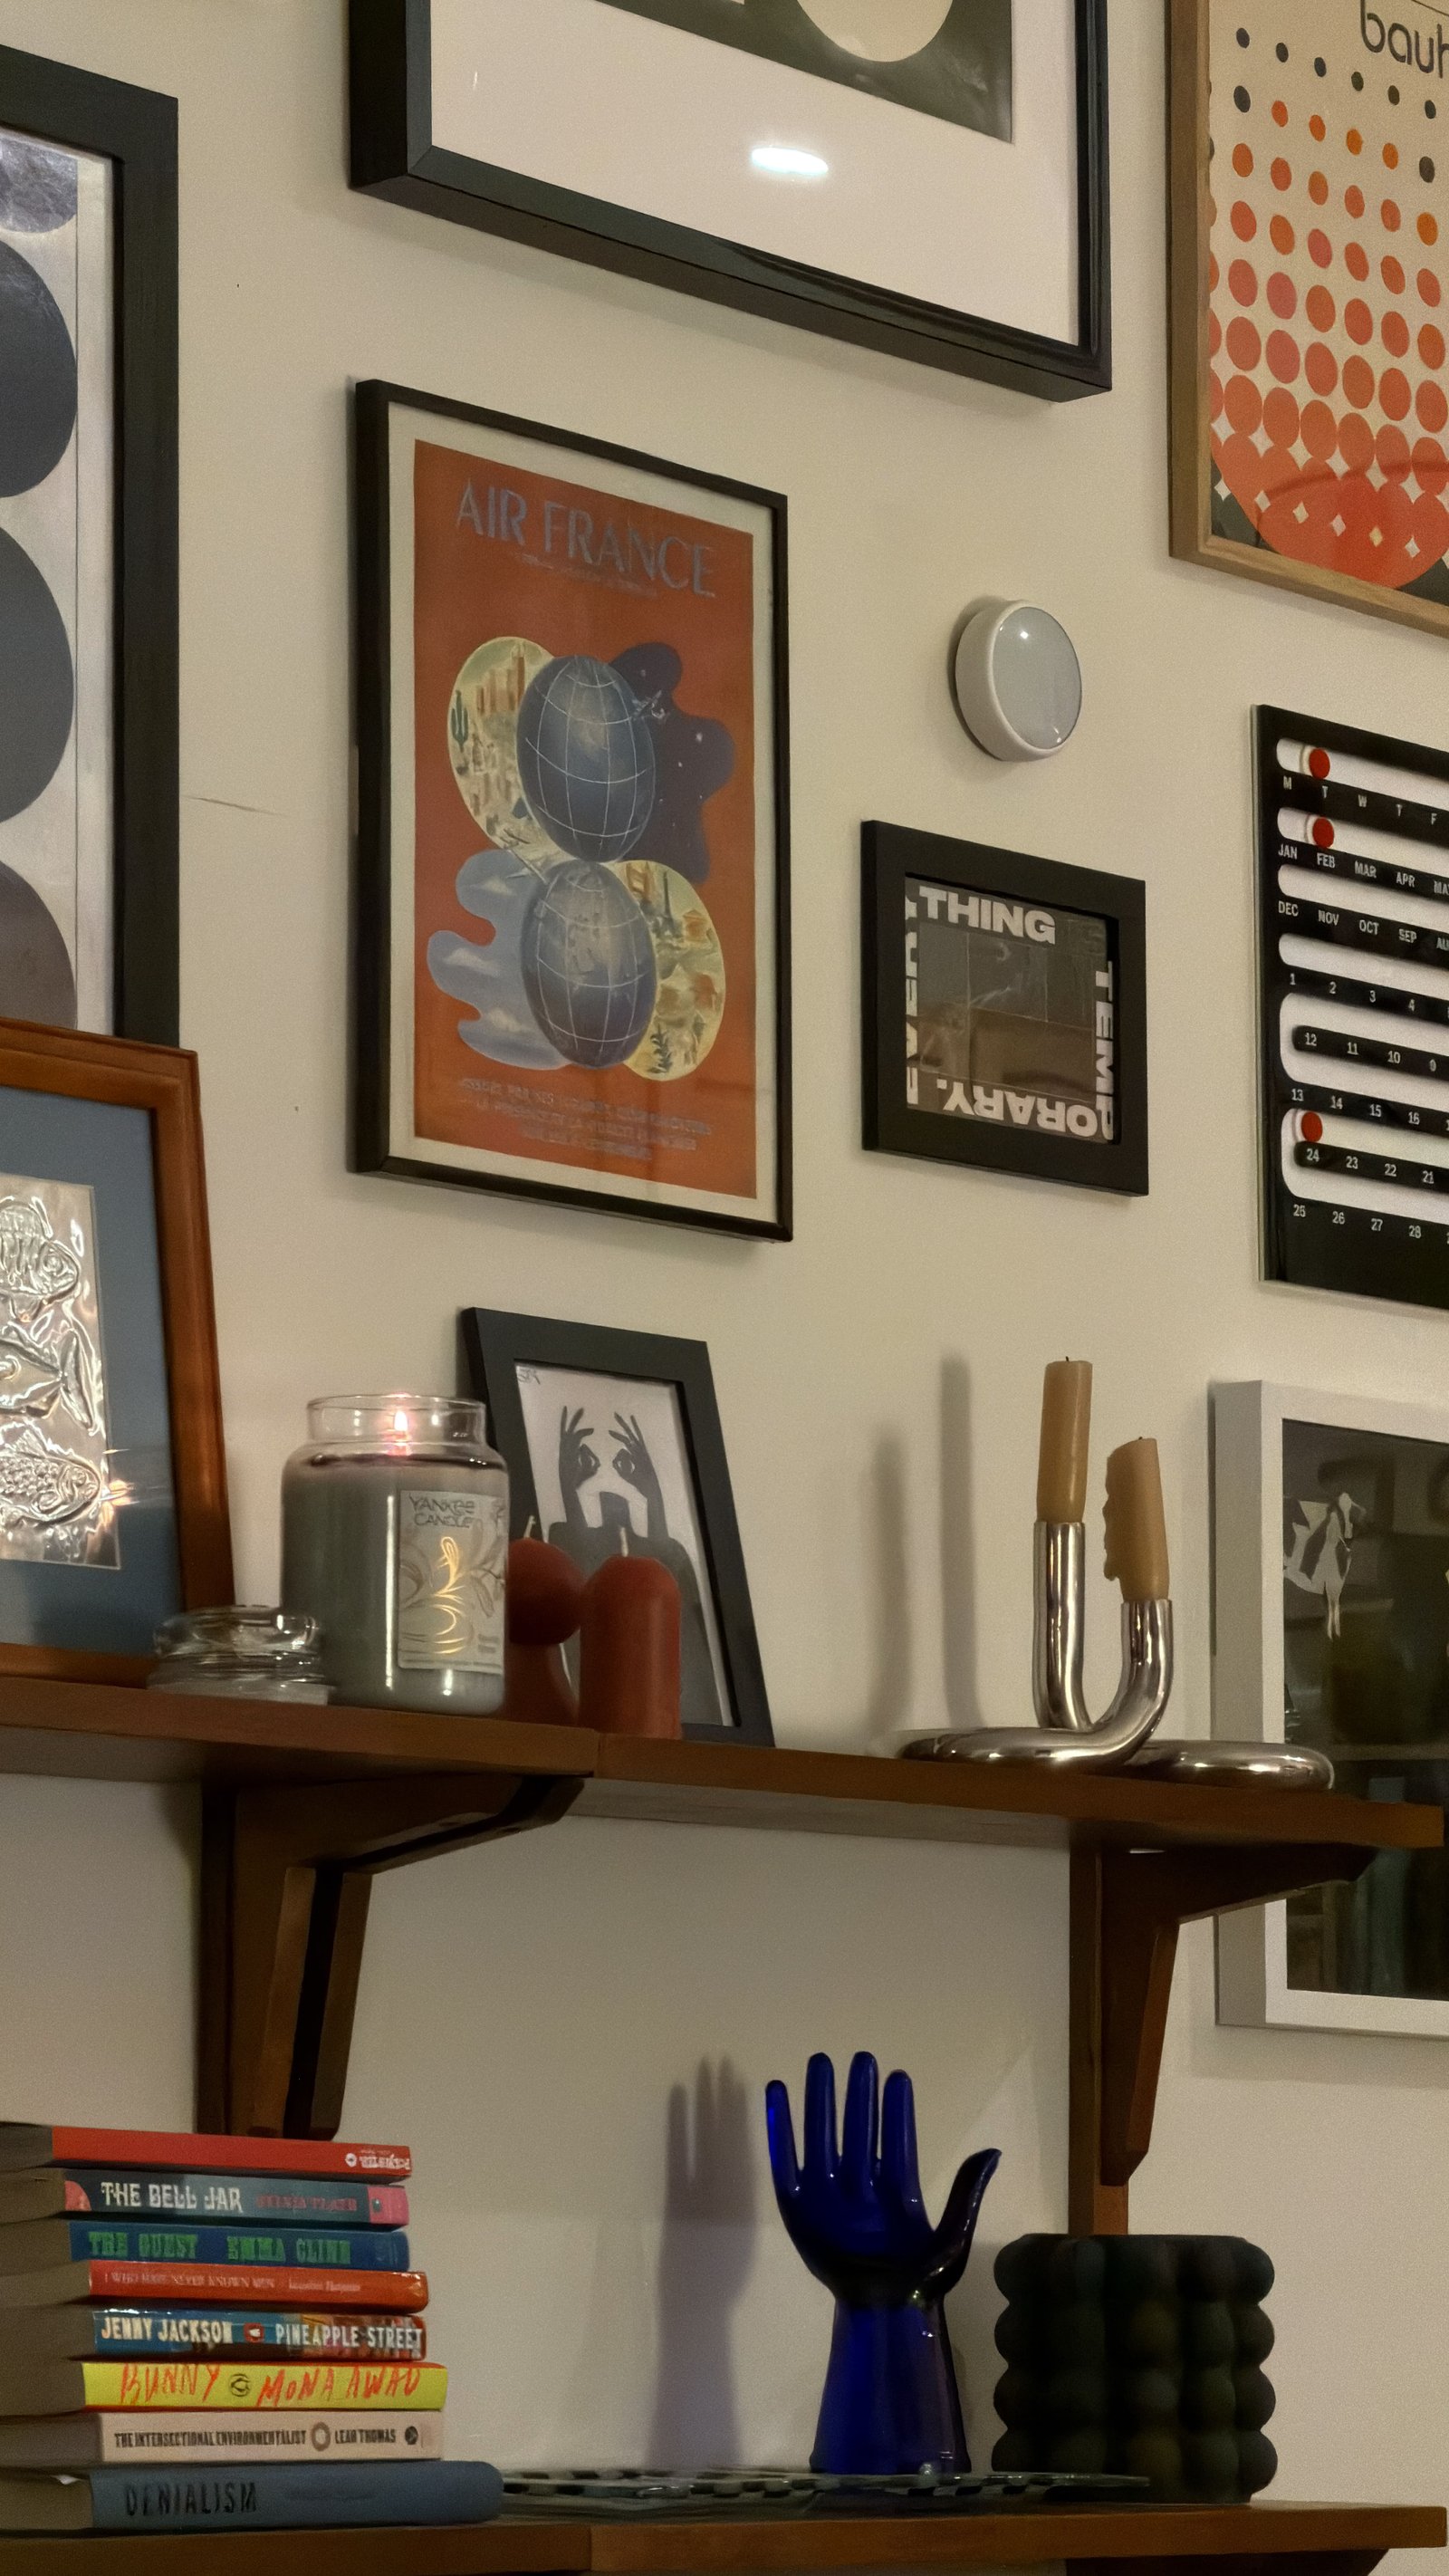
- Step 2 (Middle Layer): Place a medium-height object, such as a vase, candle, or small statue, directly in front of the artwork, allowing it to partially overlap the frame.
- Step 3 (Front Layer): Position a low horizontal stack of books slightly forward and off-center from the middle object.
- Step 4 (Foreground Accent): Rest a small framed photo or small decorative bowl against the front edge of the book stack.
Layout Structure:
- Background: [ Large Art Frame / Mirror / Flat Tray ]
- Midground: [ Overlapping Mid-Sized Vase or Candle ]
- Foreground: [ Low Horizontal Book Stack + Small Leaning Accent ]
- Styling Pro-Tip: Don’t worry about obscuring parts of the background pieces. Overlapping items conceals full outlines, creating a rich, collected-over-time look rather than a staged showroom display.
Formula #6: The Negative Space Grid (Best for Minimalists)
- The Common Flaw: Overpacking shelves with too many small accents creates intense visual noise, leaving no room for the eye to rest.
- The Solution: Treat open space as an active design element, elevating individual pieces into gallery-worthy focal points through strict restraint.
How to Build It:
- Step 1 (Single Focal Feature): Dedicate a shelf section or entire tier to just one hero object, such as a single large ceramic bowl, a sculptural bust, or a neat stack of three matching hardcovers.
- Step 2 (Enforce the 50% Rule): Leave 40% to 50% of the shelf empty around the item.
- Step 3 (Simplify the Palette): Stick to monochromatic tones (cream, beige, matte black, or terracotta) to keep the look clean and calm.
Layout Structure:
- Left Section: [ Open Negative Space ]
- Center Feature: [ Single Standout Sculptural Object ]
- Right Section: [ Open Negative Space ]
- Styling Pro-Tip: Perfect for Modern, Japandi, or Minimalist interiors. By removing visual clutter, the space acts as a natural frame, making ordinary objects feel deliberate and high-end.
Formula #7: The Horizontal Stack Sandwich (Best for Book Lovers)
- The Common Flaw: Rows of upright books standing side-by-side create rigid vertical lines, making the unit feel like an uninspiring archive rather than a styled shelf.
- The Solution: Alternate between vertical rows and horizontal stacks to build structural variety directly out of your library collection.
How to Build It:
- Step 1 (Vertical Row): Stand 4–6 books vertically on the left side of the shelf.
- Step 2 (The Divider): Secure the vertical row with a sturdy, decorative bookend.
- Step 3 (Horizontal Stack): Immediately adjacent to the bookend, build a flat stack of 3–5 hardcovers lying horizontally, spine-side facing out.
- Step 4 (Top Accent): Top the horizontal stack with a small decorative piece, such as a small potted plant, brass paperweight, or vintage matchbox.
Layout Structure:
- Left Side: [ Vertical Books ] + [ Bookend Anchor ]
- Right Side: [ Flat Horizontal Book Stack ] + [ Small Top Accent ]
- Styling Pro-Tip: This framework lets you curate an impressive library without buying extra decor. The books themselves act as building blocks that define the height, color, and texture of the space.
Formula #8: The Organic Break (The Controlled Chaos Finish)
- The Common Flaw: You followed the structural rules, but the shelf feels overly stiff, sterile, or staged like a showroom floor.
- The Solution: Introduce one intentional “imperfect” element to break rigid lines and add warmth, movement, and personality.
How to Build It:
- Step 1 (Apply the Base): Style 90% of the shelf using any of the previous formulas (#1 through #7) to establish clean symmetry and balance.
- Step 2 (Select Your Rule Breaker): Choose one casual, organic item to disrupt the clean geometry:
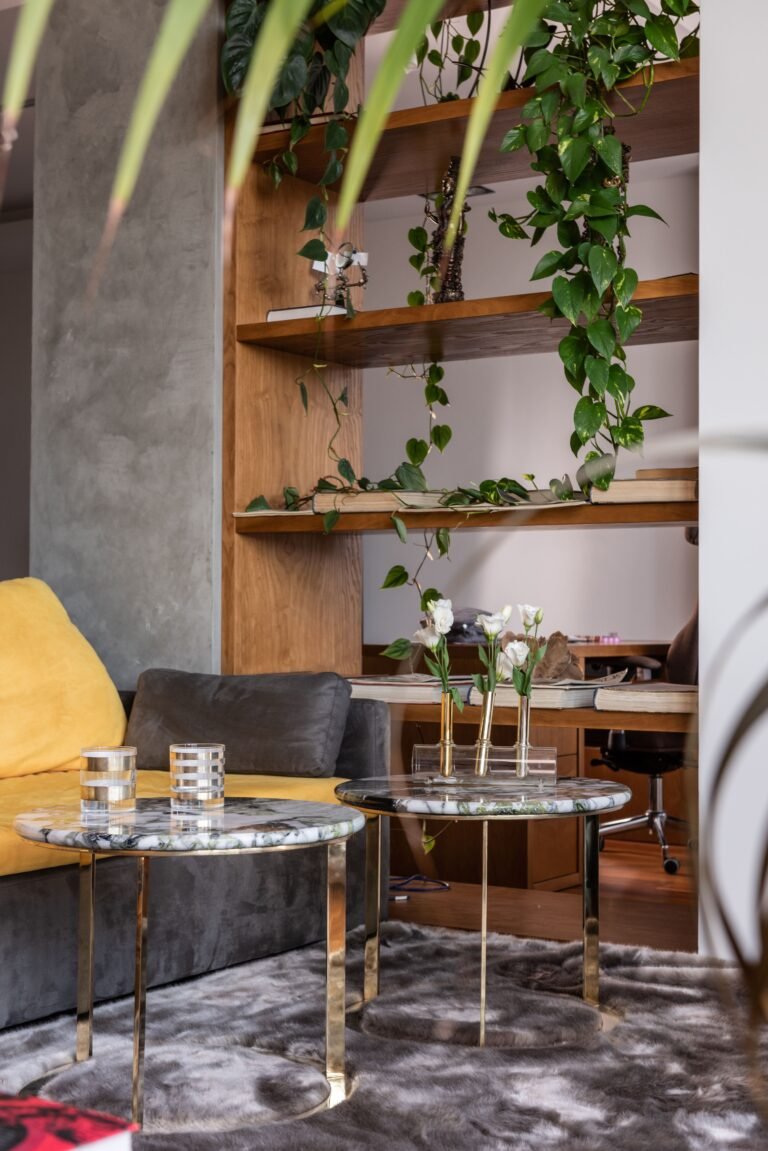
- A trailing vine (like a Pothos) overflowing its pot and cascading across lower shelf tiers.
- A framed photograph leaning casually off-center against a book stack instead of resting flat.
- A small woven basket or textile resting slightly askew near the outer frame.
- Step 3 (Step Back & Edit): Ensure the accent feels effortless rather than distracting or messy.
Layout Structure:
- Core Base (90% Structure): [ Structured Layout using Formulas #1–#7 ]
- Dynamic Finish (10% Chaos): [ + One Trailing Vine / Asymmetric Leaning Frame / Natural Texture ]
- Styling Pro-Tip: Keep the ratio strictly at 90% structure and 10% controlled chaos. A single organic element softens sharp edges, turning a rigid template into an inviting, lived-in display.
Mixing and Matching Formulas: The Advanced Playbook
You don’t have to use the same layout on every single tier of a bookcase. The most striking rooms layer multiple templates across a single unit.
How to Combine Formulas for a Full Unit
Think of a multi-tier shelf or large built-in bookcase as a single unified display composed of smaller individual scenes.
- Step 1 (Overall Flow): Apply the Z-Pattern Zig-Zag (#2) across the entire bookcase to map out high-impact anchor points from top left to bottom right.
- Step 2 (Individual Tiers): Fill individual shelves using the L-Shape Anchor (#1) or the Pyramid (#4) to structure smaller accent groupings.
- Step 3 (Dimensional Depth): Incorporate the Layered Peek-a-Boo (#5) on at least two shelves to prevent the wall from looking flat.
- Step 4 (Final Polish): Add the Organic Break (#8) to a single shelf, and only one, to keep the whole unit feeling relaxed and lived-in.
The “Visual Reset” Camera Check
Once you finish arranging your decor, test your layout using a quick smartphone photograph:
- Step 1: Snap a straight-on photo of the entire bookcase using your phone camera.
- Step 2: Shrink the photo down and look directly at the small thumbnail preview.
- Step 3: Evaluate where your eye lands naturally:
- Eye drifts off the outer edges? Anchor the ends with heavier objects using Formula #1.
- Eye gets trapped strictly in the center? Distribute weight across the outer wings using Formula #2.
- Display looks like a flat wall of clutter? Push background items back and layer foreground pieces using Formula #5.
Styling for the “Real World” (Function vs. Form)
You don’t need a collection of rare antiques or pristine pottery to achieve a stunning display. Real homes come with Wi-Fi routers, board games, and well-read paperbacks. Here is how to adapt our core shelf styling formulas to fit your lifestyle and aesthetic.
The Maximalist Approach (Vibrant & Layered)
If you love color, pattern, and rich collections, use Formula #4 (The Pyramid) while filling the framework.
- Stack Pedestals: Use tall stacks of colorful hardcovers as elevated display stands for ginger jars, collectibles, or sculptures.
- Overlapping Frames: Layer framed art prints directly in front of one another to create dense visual interest.
- Controlled Energy: Keep vibrant pieces contained strictly within an L-Shape or Pyramid perimeter so the collection feels intentional rather than chaotic.
The Modern Farmhouse Approach (Neutral & Textured)
If you prefer calm neutrals, warm wood tones, and organic textures, pair Formula #7 (Horizontal Stack) with Formula #6 (Negative Space).
- Neutral Cover Hack: Slip off brightly colored paper dust jackets to reveal understated linen, cloth, or cream hardcover spines.
- Textured Anchors: Swap heavy dark pottery for woven rattan baskets, stoneware crocks, or wooden bowls.
- Subtle Life: Complete the layout with a single stem of dried eucalyptus or greenery in a clear glass bottle as your Organic Break (#8).
The Everyday Reader Approach (Functional Libraries)
If your shelves house actual reading material with mismatched spines, balance functionality with visual balance using these tweaks:
- Color Grouping: Sort volumes loosely by hue (whites/creams, blues, dark tones) to eliminate chaotic visual noise without sacrificing access.
- Conceal Busy Spines: Use Formula #7 (Horizontal Stack) to position bright neon paperbacks face-down near the bottom of a stack.
- Top Anchor: Place a heavy, minimalist decorative bowl or candle directly on top of stacked books to keep the arrangement grounded.
Shopping List for the Perfect Shelf
To execute these shelf styling formulas, you don’t need to buy a whole new decor haul; you just need the right “raw materials.” Here are the essential props to keep on hand to build balance, height, and texture.
Essential Props for Any Formula
- The Anchor Objects (For Visual Weight):
- Oversized hardcover coffee table books
- Heavy ceramic, terracotta, or stone catch-all bowls
- Sturdy marble, wood, or metal bookends
- The Vertical Lift (For Height & Scale):
- Tall sculptural vases (statement pieces work great even when empty)
- Taper candlesticks or pillar holders (in pairs or single heights)
- Tall dried stems, wispy branches, or pampas grass
- The Horizontal Base (For Elevation & Stacking):
- Hardcover books of varying widths and spine tones
- Lidded wooden, marble, or bone-inlay decorative storage boxes
- Shallow stone or wooden display trays
- The Organic Softener (For Warmth & Texture):
- Small trailing houseplants (such as Pothos or String of Pearls)
- Bundles of dried florals, eucalyptus, or preserved greenery
- Natural woven baskets, rattan boxes, or jute accents
Conclusion: You Now Have the Blueprint
Styling a beautiful display isn’t about buying the most expensive decor; it’s about understanding scale, alignment, and optical balance.
By mastering these 8 shelf styling formulas, you have completely eliminated the guesswork. You now have a repeatable blueprint to transform any empty ledge, kitchen built-in, or living room bookcase into a balanced work of art.
Your Step-by-Step Action Plan
- Clear the Canvas: Take every object off the shelf so you can assess the space with fresh eyes.
- Sort Your Props: Group your decor into three main piles: Heavy Anchors, Vertical Lifts, and Horizontal Stacks.
- Select Your Formula: Start with the Z-Pattern (#2) for tall built-in walls or the L-Shape (#1) for single floating shelves.
- Run the Camera Test: Snap a smartphone photo, review the thumbnail for visual balance, and adjust your pieces.
- Add the Rule Breaker: Introduce one trailing plant, askew frame, or natural texture (Formula #8) to make the display feel warm and lived-in.
Never second-guess your decor arrangements again. You have the structural blueprint; now go put your formulas to work!
Loved This Guide?
- Show Off Your Space: Take a quick before-and-after photo and tag us on Instagram at [@YourHandle] so we can feature your styled shelves!
- Get the Free Printable Cheat Sheet: Want a quick-reference PDF of all 8 shelf styling diagrams? Enter your email below to get it sent straight to your inbox!