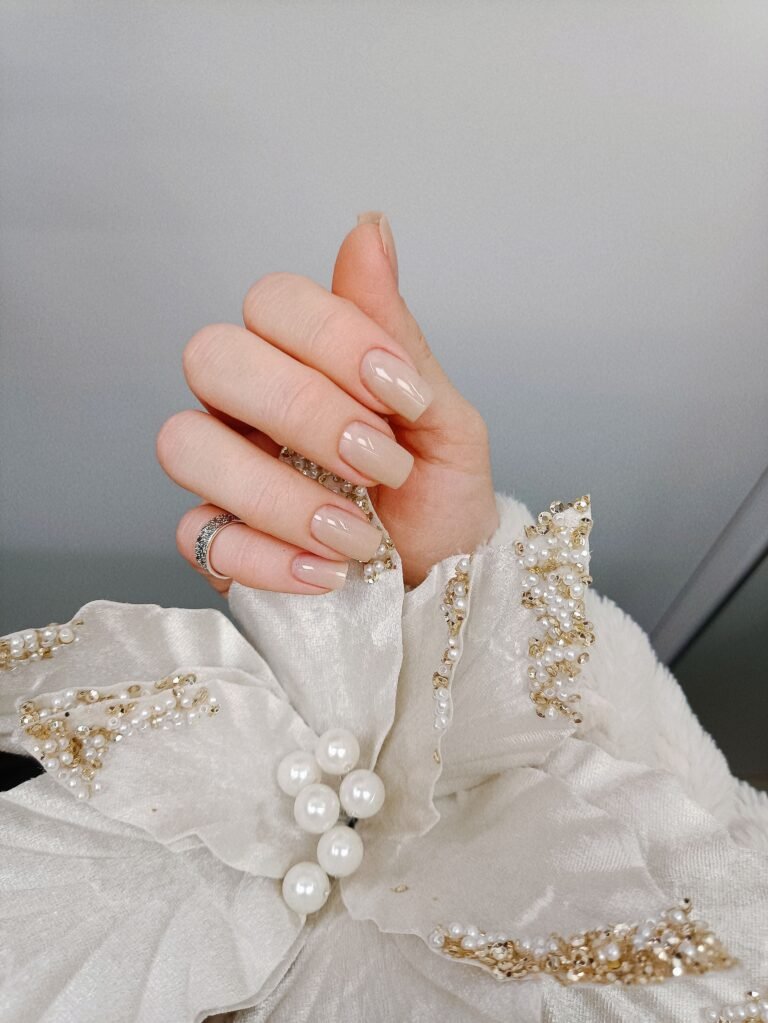
7 Colorful Tip Nails to Swap Your Neutrals for Something Playful
This site contains affiliate links. I may earn a commission at no extra cost to you.
Who decided French tips had to be white when colorful tip nails offer so much more room for play? For decades, the classic French manicure reigned as the gold standard of “clean girl” aesthetics: a crisp white smile line, a sheer pink base, and an air of quiet sophistication. It’s timeless, but if you’re craving a dopamine hit every time you glance down at your keyboard, it’s time to embrace the trend.
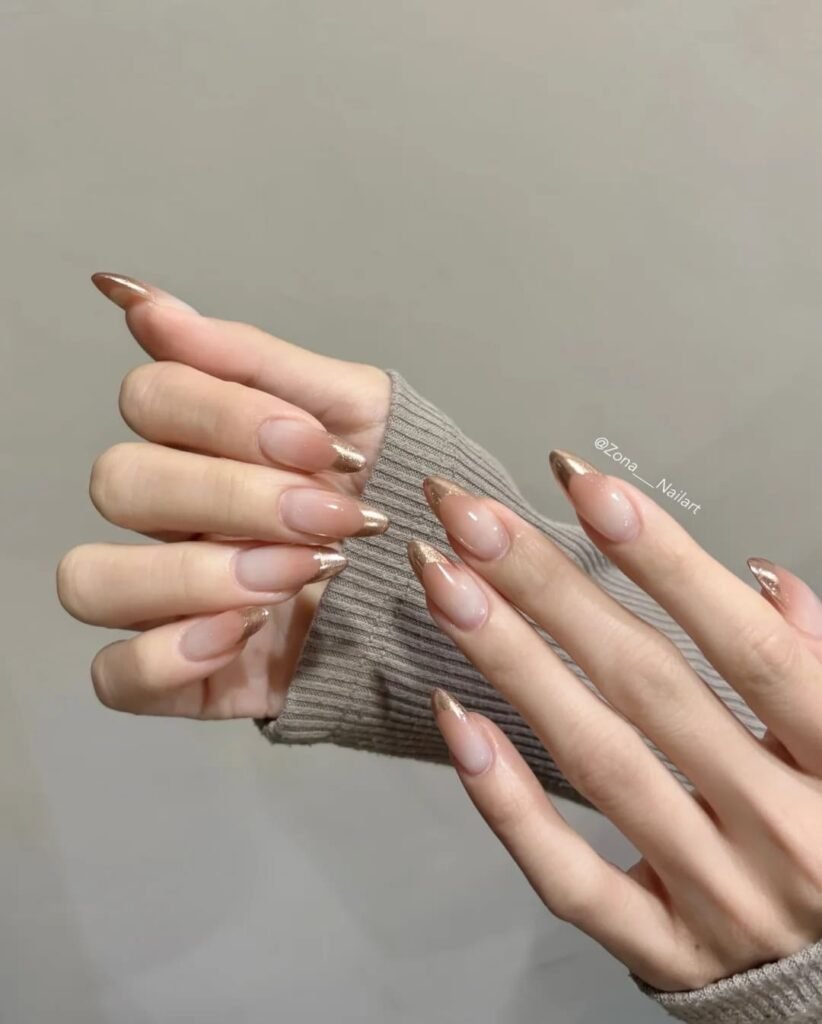
rednote / @Nene Nails
By taking the structured silhouette of a traditional French manicure and injecting it with pigment, colorful tip nails deliver instant personality. From soft lavender micro-tips that whisper elegance to bold rainbow arches that scream summer, a little color goes a long way.
What You’ll Find in This Guide:
- 7 Vibrant Design Ideas: Ranging from subtle pastel micro-tips to mismatched rainbow arches.
- Pro Application Techniques: Essential steps for both DIY nail artists and salon goers.
- Color Pairing Tips: How to select shades that flatter your skin tone and season.
Ready to refresh your fingertips? Consider your neutral era officially on pause.
Why Colorful Tip Nails Are the “It” Trend Right Now
The shift toward colorful tip nails is a direct response to fashion’s recent revival of color. After years of minimalism and “quiet luxury,” a collective hunger for self-expression has migrated straight to our fingertips.
The Fashion Influence
Major runway shows from designers like Prabal Gurung and Collina Strada have embraced color blocking and playful textures. The French tip format translates this trend effortlessly because it utilizes negative space, leaving the nail bed clear so bold colors feel intentional and chic, never chaotic.
Wearable Mood Boosters
Beyond aesthetics, there’s psychological power in bright colors:
- Instant Dopamine: Seeing vibrant hues on your hands throughout the day elevates mood and stimulates creativity.
- Low-Commitment Color: You get the impact of neon, pastel, or metallic shades without the intensity of a full-coverage manicure.
- Versatile Polish: A thin pop of electric pink or bright cobalt works just as well in a corporate setting as it does at a weekend festival.
The Inspiration Gallery: 7 Ways to Wear Colorful Tip Nails
Whether you prefer soft and romantic or loud and electric, there is a palette for every style. Here are seven distinct ways to wear the trend, broken down by palette, technique, and vibe.
Style #1: The Pastel Rainbow Sky
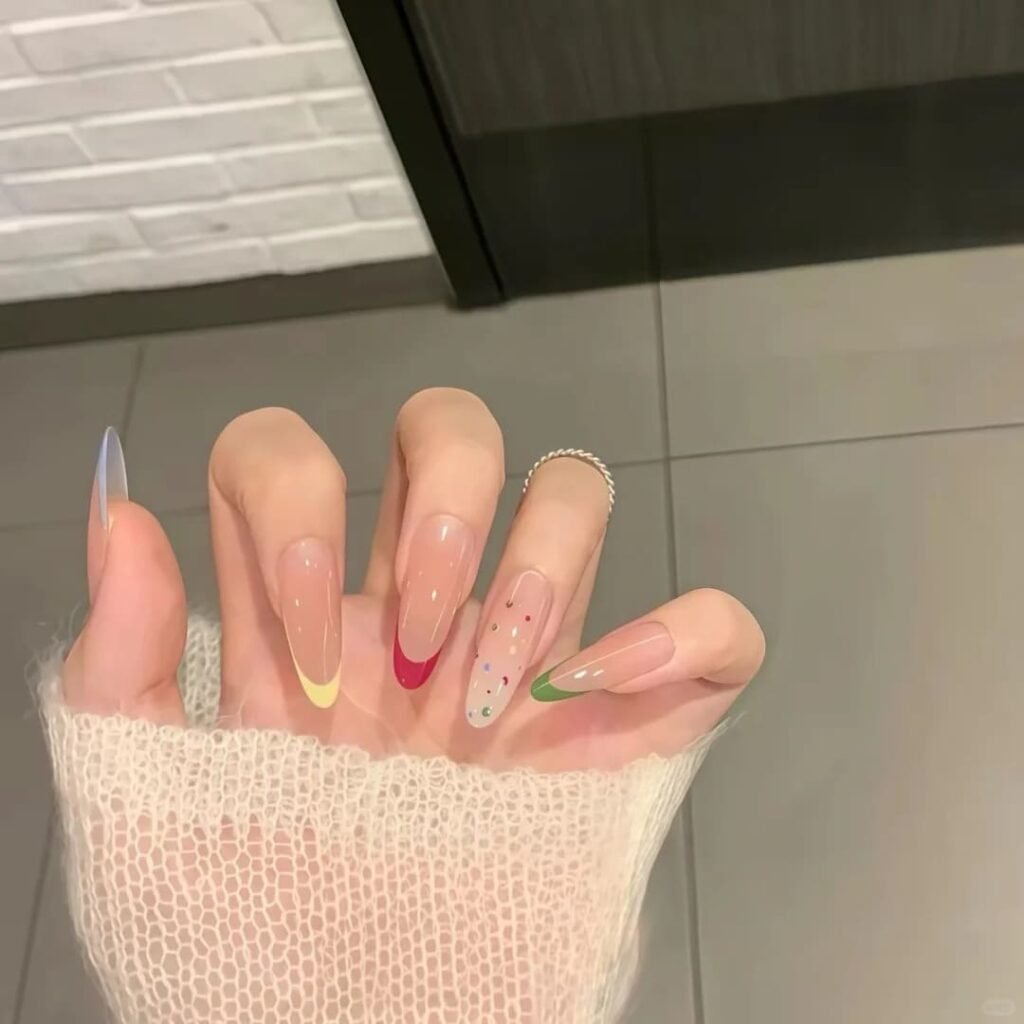
rednote / @把脸化圆
Imagine sunrise tones: soft pinks, gentle lavenders, milky mint greens, and baby blues. The Pastel Rainbow Sky, often called the “Skittle” French, is the easiest entry point into colorful tip nails. Painting each tip a different soft shade gives you a multi-color look without feeling overwhelming.
Why It Works
The white undertones in pastel polishes keep the design soft, airy, and romantic. It delivers a playful pop of color that pairs effortlessly with gold jewelry and crisp linens.
Key Execution Details
- Ideal Base: Swap stark white or totally clear bases for a milky, semi-translucent nude. A blurring base creates a soft-focus backdrop so pastels pop without looking chalky.
- Palette Breakdown: Pinky (Baby Pink), Ring (Mint Green), Middle (Lavender), Index (Powder Blue), Thumb (Peach).
Style #2: The Neon Energy Curve
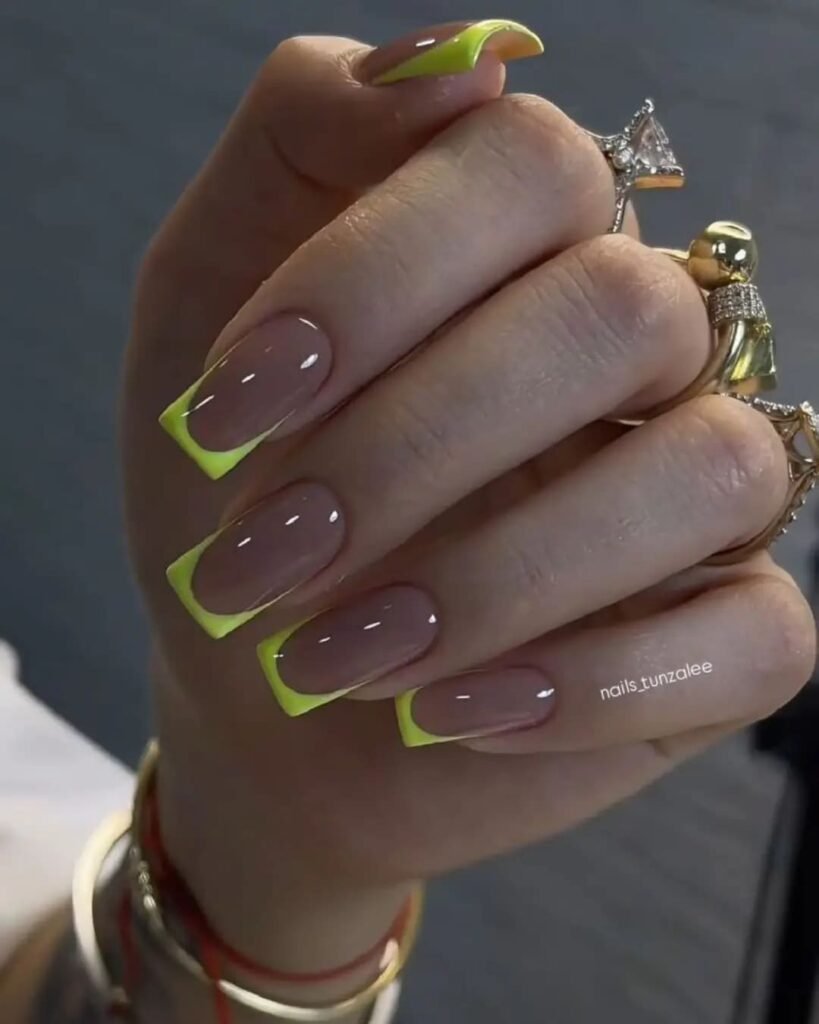
Instagram / @nails_tunzalee
If you want to make an immediate statement, swap soft pastels for high-voltage, electric pigments. Traffic cone orange, highlighter yellow, electric green, and hot pink transform classic colorful tip nails into an edgy, eye-catching accessory.
Why It Works
High contrast creates immediate visual impact. The sheer, natural base coat acts as a neutral canvas, making neon edges appear to glow. It is the ultimate summer vacation manicure that pops against warm skin tones and looks incredible under sunny skies.
Key Execution Details
- Shape Pairing: A sharp square or coffin shape enhances the bold, modern edge, while a sleek almond shape softens the intensity.
- Palette Breakdown: Try the “Citrus Mix” (Lime Green + Electric Blue) or the “Sunset Burst” (Hot Pink + Tangerine).
- Technique Twist: Try a “double line” tip, a paper-thin neon stripe drawn right below a bold, solid arch for a modern geometric look.
Style #3: Mismatched Rainbow Arches
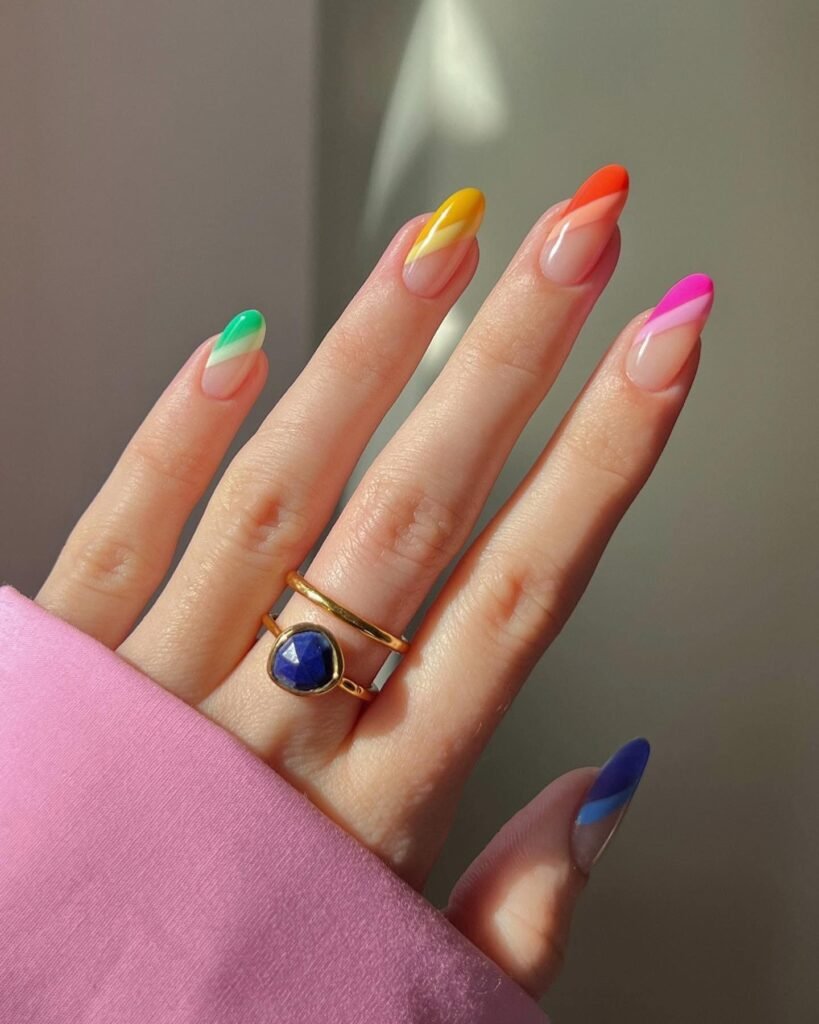
Instagram / @amberjhnails
The Mismatched Rainbow Arch throws the standard ROYGBIV sequence out the window. Instead of a linear gradient, each tip features a different starting point in the color spectrum, creating a dynamic, asymmetrical flow across your hand.
Why It Works
It strikes the ideal balance between cohesive and playful. Keeping the arch silhouette consistent ties the look together, while the randomized colors give these colorful tip nails a retro, 70s psychedelic vibe that maximalists love.
Key Execution Details
- Application Technique: Use a fine-liner detail brush to paint crisp, sweeping arcs along the free edge of the nail.
- Pro Hack: For flawless symmetry without freehand shaking, apply your color sequence to a soft silicone stamper and gently press the tip of your nail into the color at a 45-degree angle.
- Best Paired With: A glossy topcoat to accentuate the crisp lines and a neutral, sheer-pink base coat to keep the focus entirely on the colorful arches.
Style #4: The Lavender Haze Micro-Tip
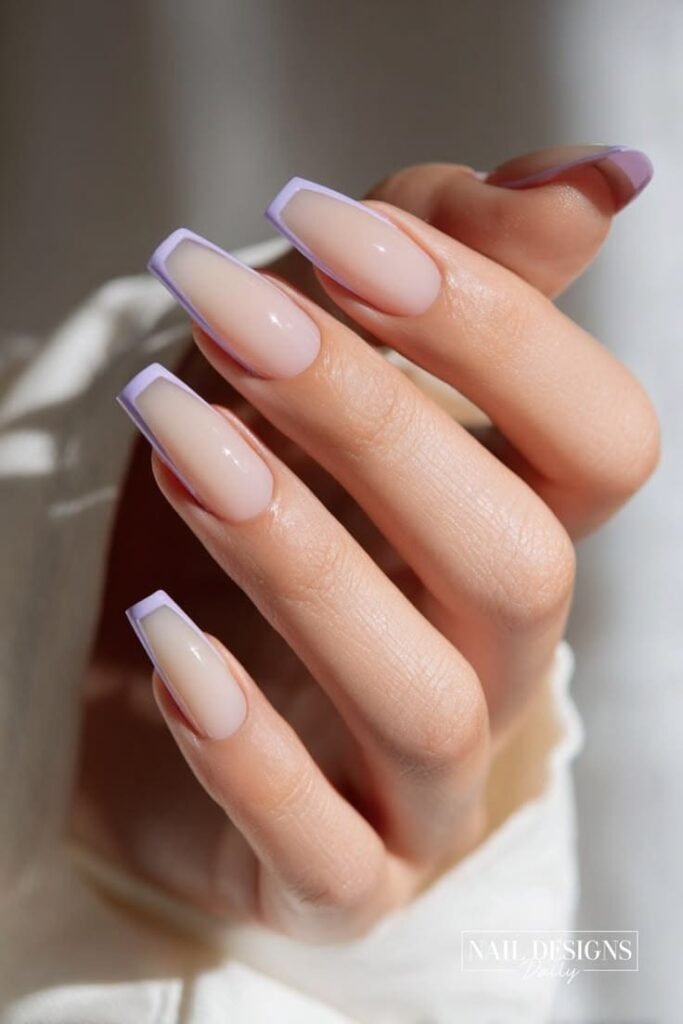
For minimalists who want a quiet touch of color, the Micro-Tip features an ultra-thin thread of polish painted along the precise edge of the nail. Soft lavender, dusty periwinkle, and pale butter yellow bring a delicate update to standard colorful tip nails.
Why It Works
It is the definition of “expensive-looking” nail art. The razor-thin application offers a clean, understated aesthetic that easily passes corporate dress codes while giving a subtle nod to seasonal color trends.
Key Execution Details
- Ideal Shape: Best suited for almond, oval, or lengthened nail beds. The extended canvas allows the micro-line to look sleek and elongated rather than compressed.
- Precision Technique: Dip an ultra-thin striping brush into a drop of acetone before picking up your polish. This thins the formula slightly, helping it glide smoothly across the edge for a razor-sharp line.
- Finish Touch: Pair with a high-shine, gel-like topcoat to preserve the sharp boundary between your neutral base and the subtle pastel tip.
Style #5: Glossy Cherry Tips
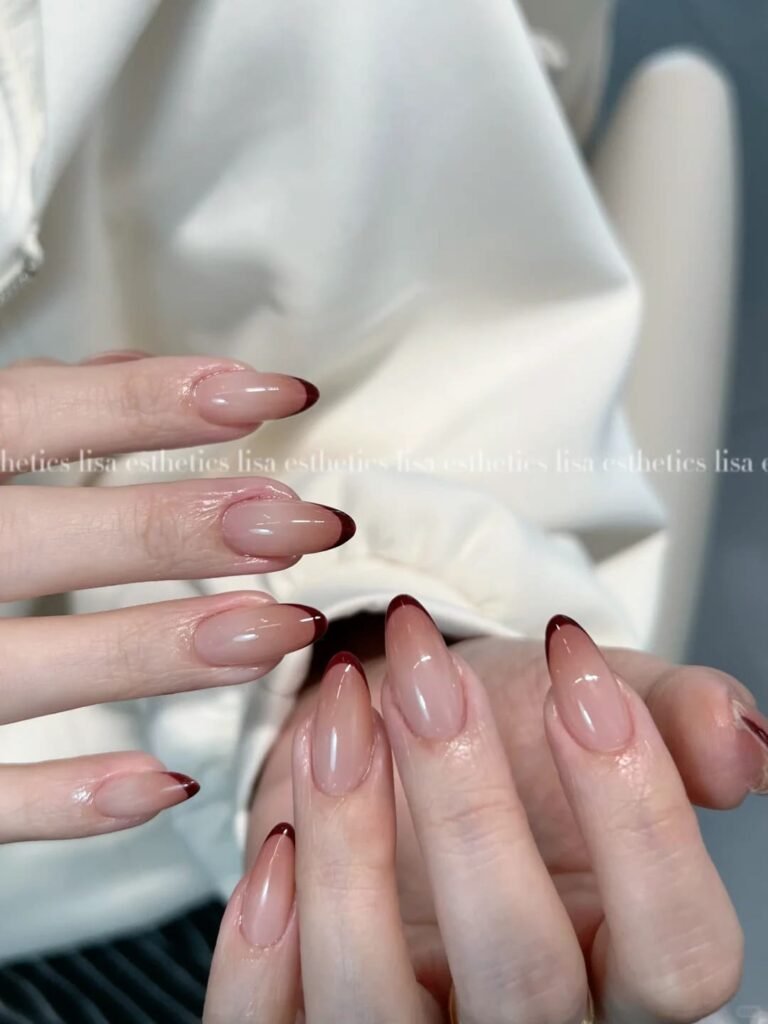
rednote / @lisaEstheticsH
The classic red manicure gets a fresh, modern update with the Glossy Cherry Tip. By confining a rich, juicy crimson exclusively to the smile line, this variation on colorful tip nails delivers classic glamour with a playful twist.
Why It Works
Red is the ultimate power shade, but full-coverage polish can sometimes feel heavy or formal. Isolating bright red on the tip softens the drama while channeling a retro, 1950s Americana aesthetic that complements gold jewelry and modern streetwear.
Key Execution Details
- The High-Shine Finish: The key to this look is a hyper-reflective, “wet look” topcoat. A plump, gel-effect formula elevates flat red polish into a glassy, high-gloss cherry finish.
- Palette Variations: Bright ruby works best for spring and summer, while deep Bordeaux or oxblood creates a cozy, romantic version for autumn.
- Base Pairing: Match rich red tips with a warm-toned, sheer peachy-nude base to keep the contrast natural and harmonious.
Style #6: The Ombré / Dip-Dye Tip
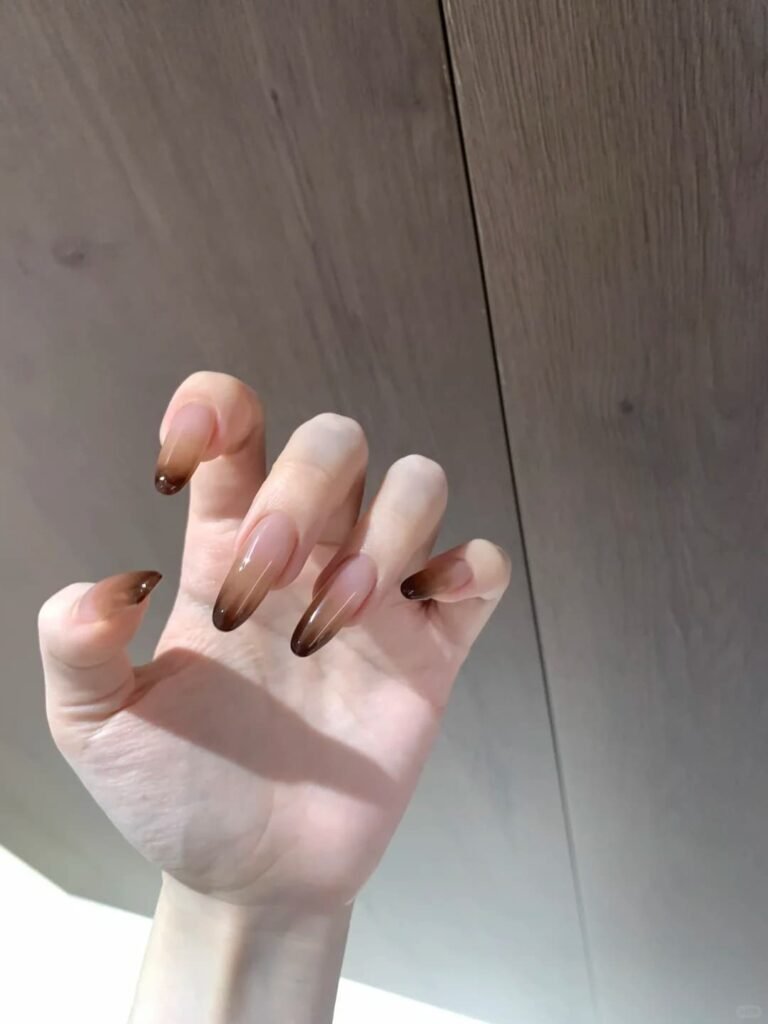
rednote / @面瘫患者_Bowie
If drawing a crisp, razor-sharp smile line feels intimidating, the Ombré Tip is the ultimate forgiving alternative. Instead of a hard border, vibrant color concentrates at the free edge and fades seamlessly upward into a natural base, bringing a watercolor feel to colorful tip nails.
Why It Works
Reversing the structured silhouette of a classic French tip creates a soft, hazy gradient that resembles dip-dyed textiles or a melting summer popsicle. The diffuse edge also disguises minor mistakes and grows out effortlessly.
Key Execution Details
- Best Pigments: Rich shades like coral, turquoise, sunny yellow, and magenta hold their color payoff as they diffuse, preventing the gradient from looking faded or muddy.
- Sponge Technique: Apply your chosen color directly to a wedge makeup sponge. Lightly press the sponge onto the tip, concentrating pressure at the outer edge and easing up as you move upward toward the mid-nail.
- Pro Finish: Apply a generous layer of plump topcoat while the polish is slightly tacky to blur the color transition into an airbrushed blend.
Style #7: Gemstone & Foil Accents
rednote / @Nene Nails
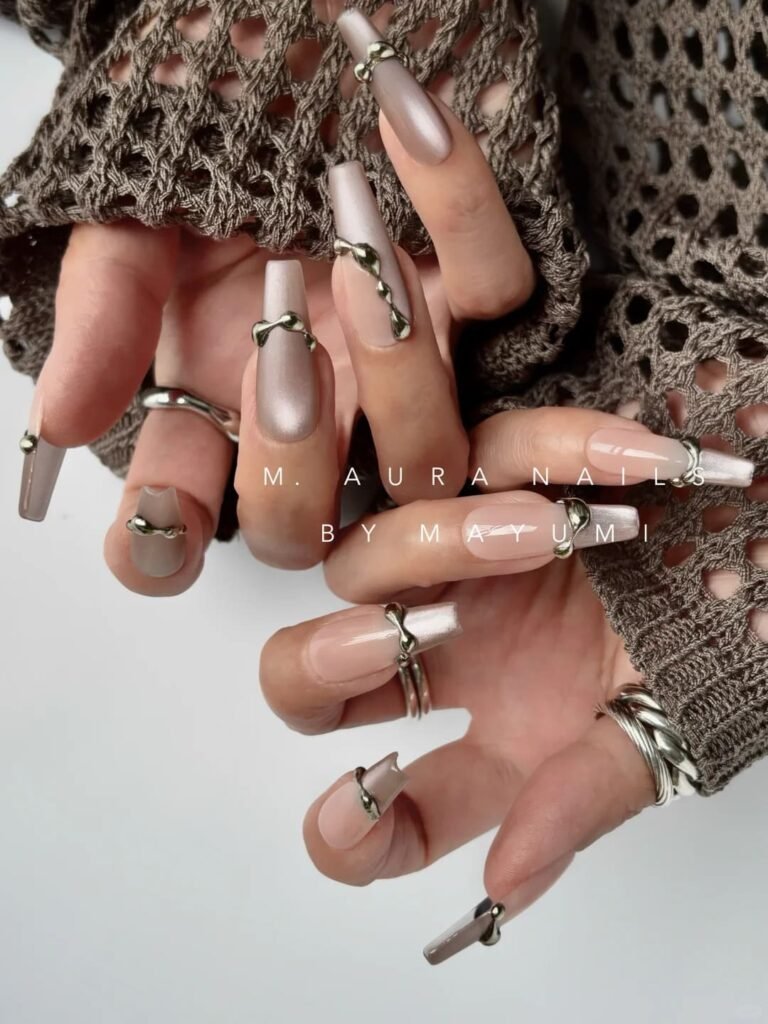
For those who believe more is more, this style combines vibrant, colorful tip nails with rich textures and light-reflecting embellishments. Layering metallic foil flakes, tiny flatback crystals, or iridescent chrome powders over bright tips turns a standard manicure into eye-catching nail art.
Why It Works
It elevates your manicure from basic polish to wearable jewelry. The contrast between colorful pigments and reflective elements catches the light from every angle, making this option ideal for festivals, birthdays, and special events.
Key Execution Details
- Application Technique: Paint your colorful tips and allow them to dry until tacky. Use fine tweezers to press gold or silver foil flakes directly onto the sticky surface, or use rhinestone glue to secure gems at the smile line.
- Pro Hack: Apply two generous coats of a high-build topcoat to smooth out the raised edges of the foil and lock gemstones securely in place.
- Palette Pairing: Combine rich jewel tones, like sapphire blue or emerald green, with gold foil accents for an opulent finish.
How to Choose the Right Colors for Your Skin Tone
While you should always wear whatever shades bring you joy, applying basic color theory helps you select pigments that make your hands look radiant and healthy. Matching your undertones with complementary polishes ensures your colorful tip nails pop effortlessly.
- Cool Undertones (Blue or Purple Veins): Look for rich berry shades (raspberry, magenta), cool jewel tones (emerald green, sapphire blue), and crisp icy pastels.
- Warm Undertones (Greenish Veins): Complement warm skin with earthy and fiery shades like sunny coral, warm peach, olive green, mustard yellow, and tomato red.
- Neutral Undertones (Mix of Blue/Green Veins): Enjoy complete flexibility across the color wheel. Vibrant electric blues, dusty rose, and true lavenders look especially striking against neutral tones.
The Essential Toolkit: Products You’ll Need
To achieve salon-quality colorful tip nails at home, having the right tools makes all the difference:
- Milky Base Coat: A sheer white or soft nude base evens out nail bed discoloration. Look for terms like “blurring” or “ridge filling” to create a soft-focus backdrop.
- High-Pigment Polishes: Tip work requires full opacity in 1–2 coats so the layer stays thin. Formula-dense brands ensure crisp color payoff without bulk.
- French Tip Guides or Silicone Stamper: Curved sticker stencils guide your smile line for steady, foolproof application, ideal for beginners.
- Fine Detail Brush: A long, ultra-thin striping brush is essential for precise micro-tips, double lines, and clean arch control.
- Liquid Latex: Paint this barrier around your cuticles and side walls before applying paint or stamping. Peel it off afterward for an instant, mess-free edge.
Step-by-Step: How to Achieve Perfect Colorful Tips at Home
Follow this simple tutorial to paint crisp, salon-ready colorful tip nails from your own couch:
- 1. Prep and Dehydrate
Push back your cuticles and shape your natural nails. Clean the surface thoroughly using a lint-free wipe soaked in acetone or rubbing alcohol to strip away natural oils and ensure long-lasting polish adhesion.
- 2. Lay the Base Canvas
Apply one to two thin coats of your sheer or milky base coat. Let this layer dry completely. If the base coat remains tacky, placement guides will pull up the color underneath.
- 3. Position Your Guide
Apply a curved French tip sticker guide across your nail plate, pressing down firmly along the edges to seal the boundary and leave only the free edge exposed.
- 4. Paint and Peel Instantly
Apply two thin layers of your chosen bright polish to the tip. Peel the sticker off immediately while the polish is still wet. Removing the guide right away prevents the drying polish from dragging or tearing along the smile line.
- 5. Seal and Cap the Edge
Allow the tips to dry for a few minutes, then seal your design with a generous layer of high-shine topcoat. Be sure to “cap” the free edge by sweeping the brush along the top rim of each nail to lock in the color and resist chipping.
Maintaining Your Manicure
Bright pigments can fade under UV light and chip along the exposed edges. Keeping your colorful tip nails fresh and vibrant for weeks requires a targeted maintenance routine:
- Use UV-Protective Topcoats: Sun exposure can bleach bright or pastel polishes. A UV-blocking topcoat acts like sunscreen for your manicure, preventing discoloration and yellowing.
- Refresh Topcoat Every Two Days: Apply a thin layer of topcoat every 48 hours to restore mirror-like shine, fill in micro-scratches, and reinforce the free edge against everyday wear.
- Protect with Cuticle Oil: Apply a nourishing cuticle oil daily to maintain flexibility in the natural nail, which prevents the polish on your tips from cracking when your nails bend.
- Shield Hands During Chores: Wear protective gloves while washing dishes or handling harsh cleaning chemicals to keep moisture from lifting the polish along your smile lines.
Conclusion
The era of the plain white French tip has officially evolved into a dynamic canvas for color, creativity, and personal expression.
- Endless Versatility: Whether you choose the subtle elegance of a micro-tip, the vibrant impact of a neon curve, or the artistic energy of mismatched rainbow arches, there is a palette for every style.
- Low-Risk Expression: Your nails are a temporary mood board, easily changing with the seasons, your favorite outfit, or your mood.
- Playful Upgrade: Swapping out classic neutrals for bold pigments delivers an instant dose of joy every time you glance down at your hands.
Which look are you trying first?
- Option A: Soft, airy pastel skies for a subtle touch
- Option B: High-energy neon curves for maximum impact
Let us know in the comments below!